common-web-starter
1.功能介绍
1.JacksonConfig 提供对日期类型的序列化支持
- 配置 Jackson 的 ObjectMapper 来为 Date 类型指定自定义的序列化和反序列化格式。这样,前后端可以统一日期格式。
2.修饰SpringMVC 中的请求处理适配器
- 通过自定义注解 IgnoredResultWrapper 和装饰器模式对 SpringMVC 中的请求处理适配器进行扩展,控制响应结果的包装及处理方式。
3.将前台传进的多种日期格式自动反序列化为 Date 类型
- 使用
@InitBinder来解析来自前端的多种日期格式,确保它们能正确反序列化为 Date 类型。
2.配置示例
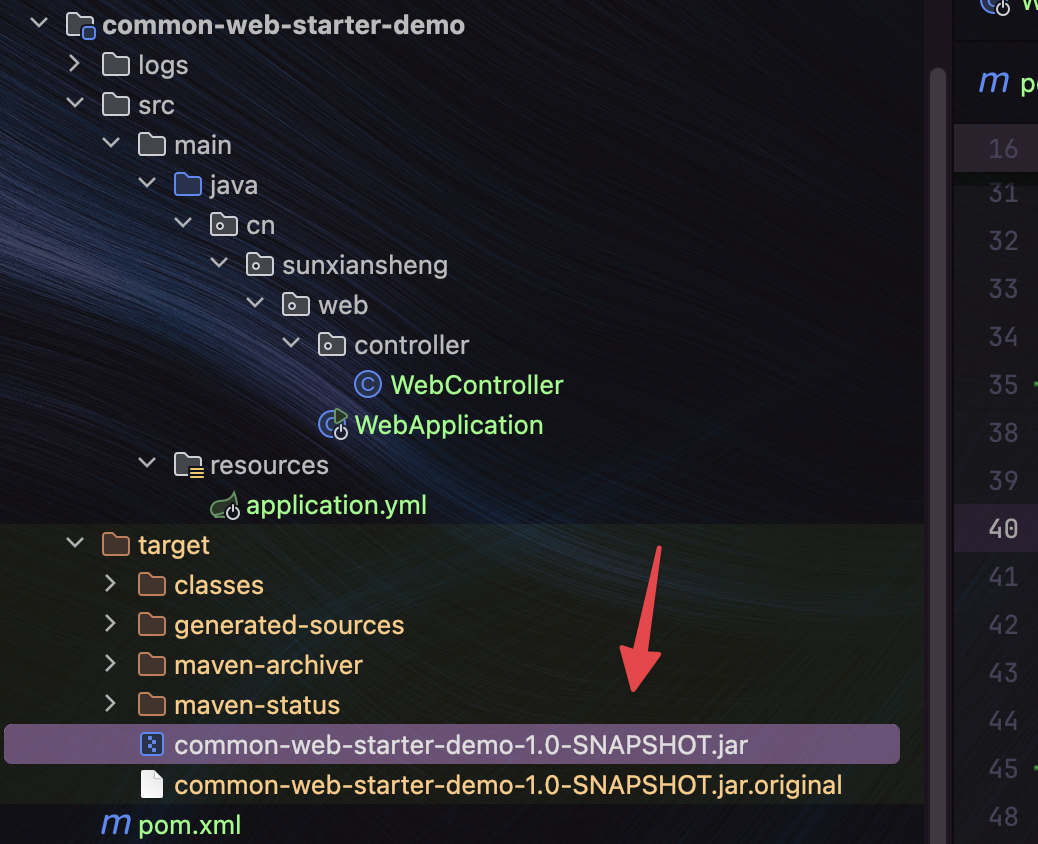
配置 Maven 来打包项目时,指定 .jar 文件的名称为项目的 artifactId 和 version,并使用 spring-boot-maven-plugin 插件来打包所有依赖。
xml
<!-- Maven 打包常规配置 -->
<build>
    <!-- 打包成 jar 包时的名字为项目的 artifactId + version -->
    <finalName>${project.artifactId}-${project.version}</finalName>
    <plugins>
        <plugin>
            <groupId>org.springframework.boot</groupId>
            <artifactId>spring-boot-maven-plugin</artifactId>
            <version>2.4.2</version>
            <executions>
                <execution>
                    <goals>
                        <!-- 将所有的依赖包都打到这个模块中 -->
                        <goal>repackage</goal>
                    </goals>
                </execution>
            </executions>
        </plugin>
    </plugins>
</build>3.案例演示
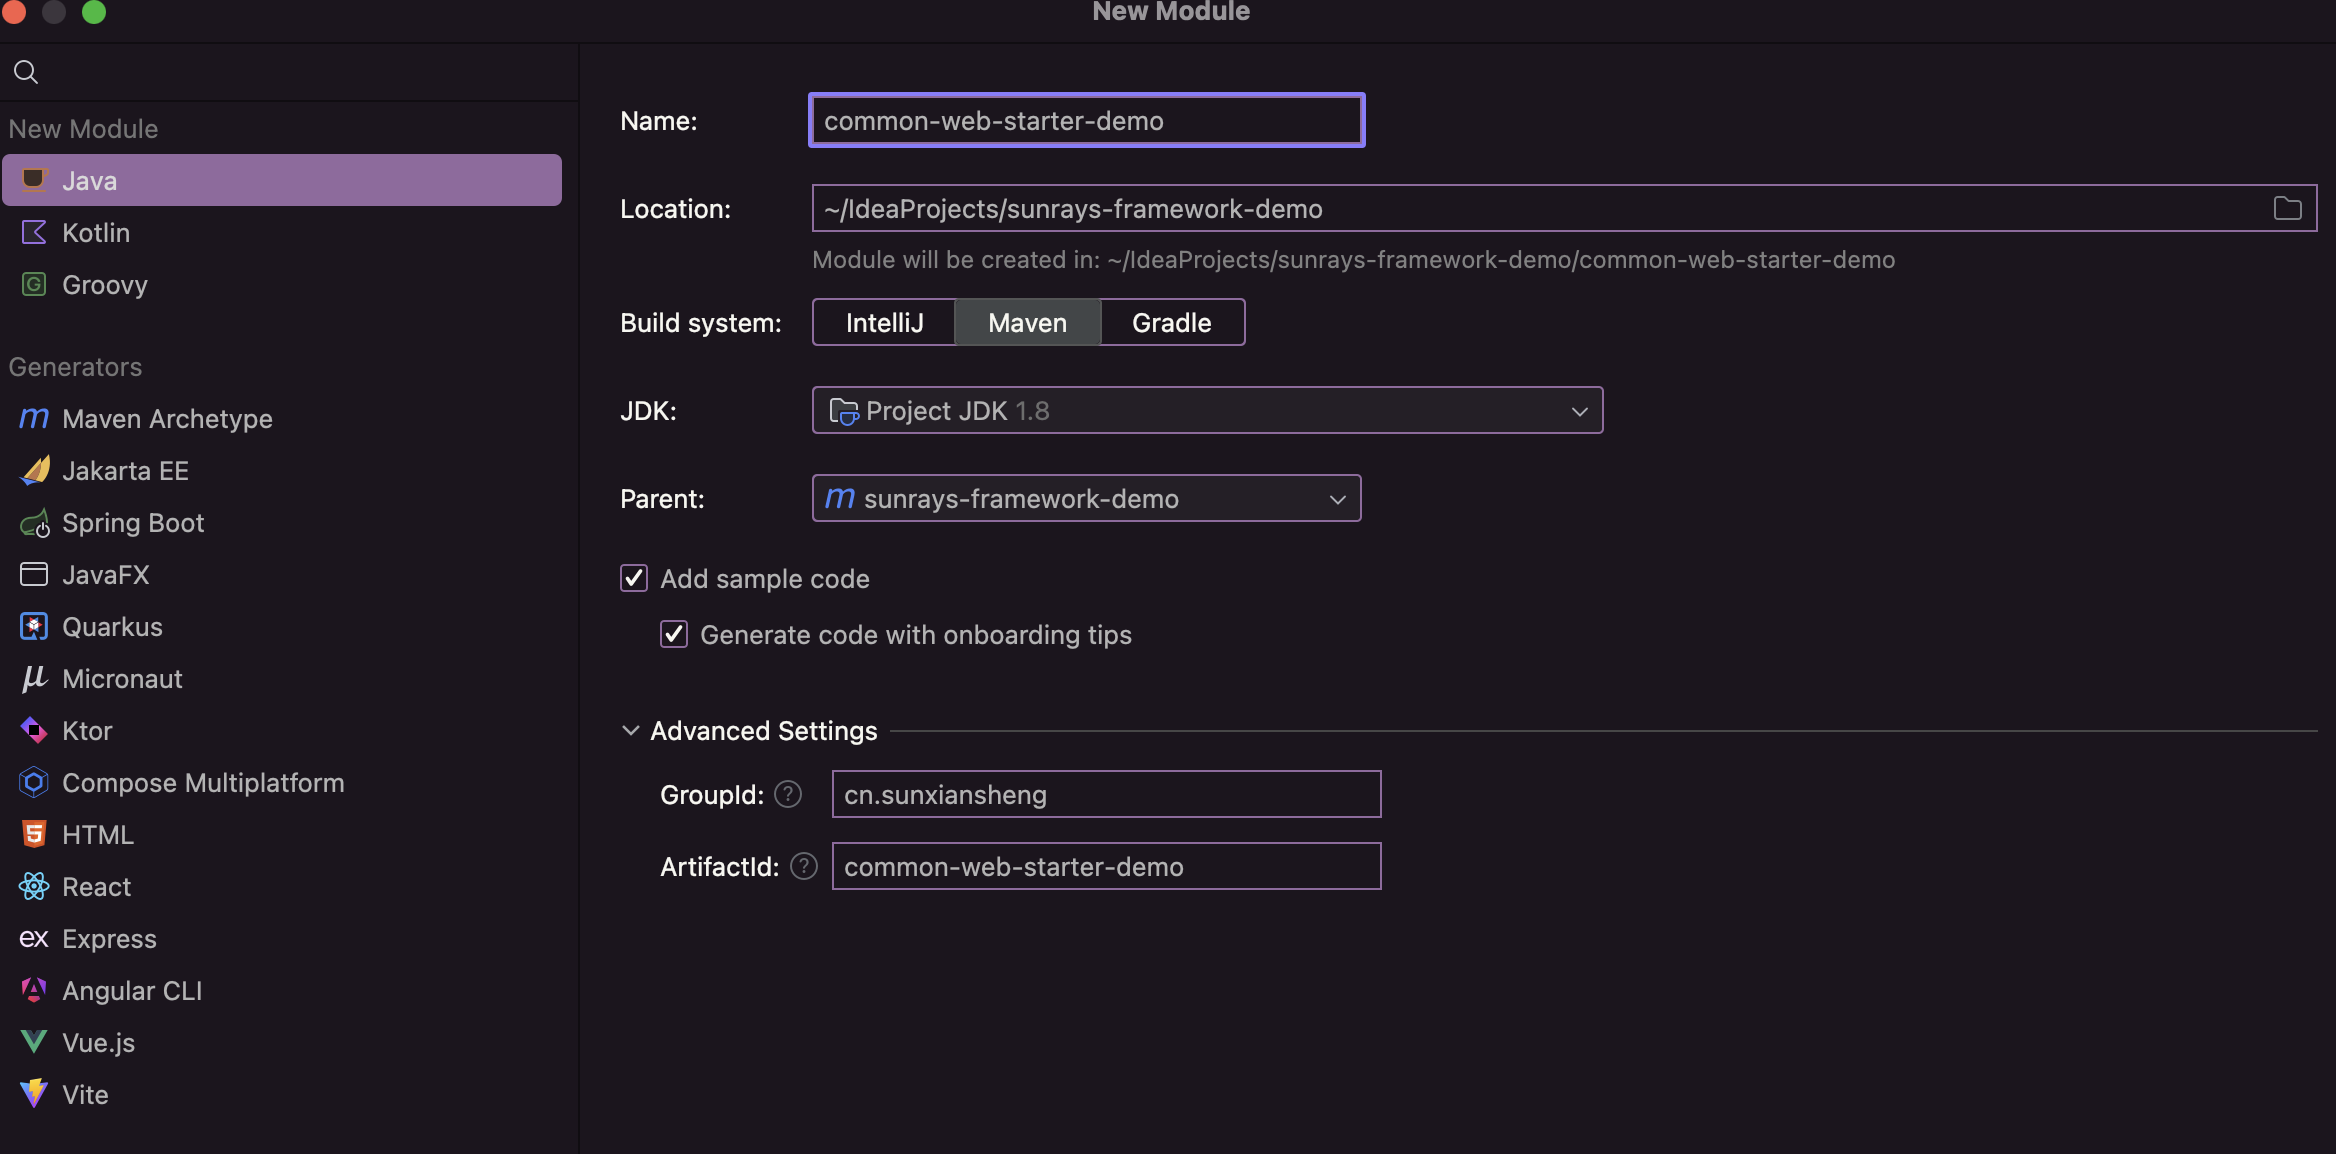
1.创建模块
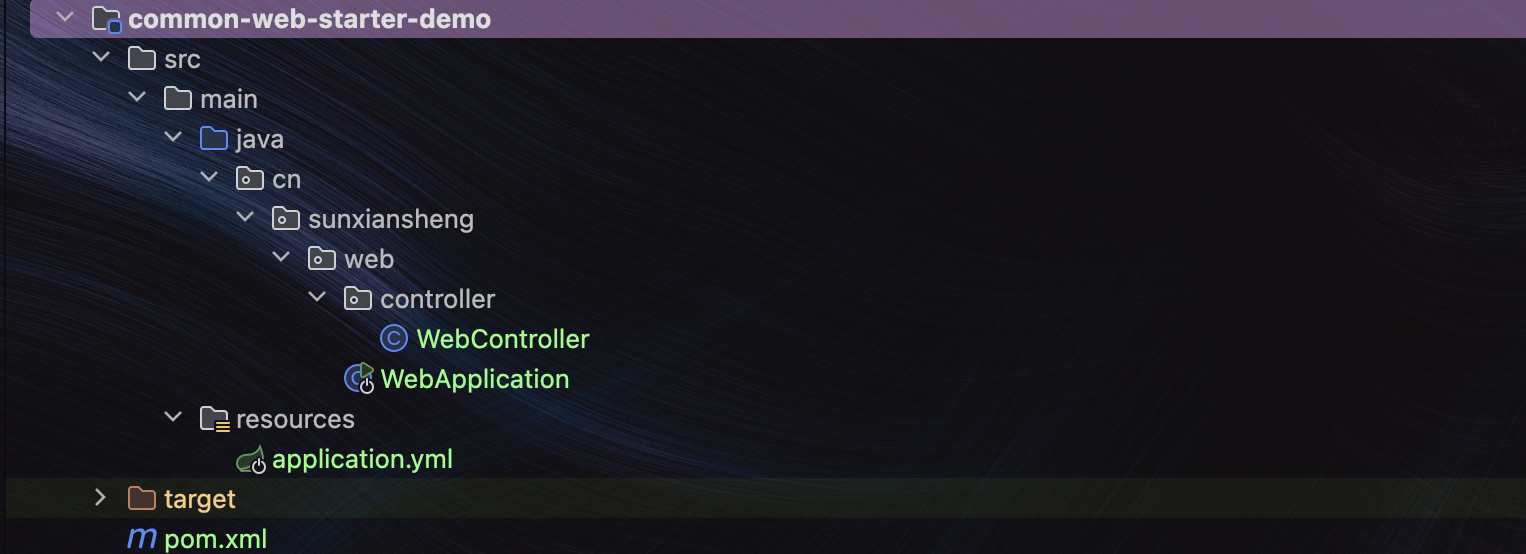
2.目录结构
3.pom.xml
1.基本配置
xml
<!-- 通过properties来指定版本号 -->
<properties>
    <!-- 指定编译版本 -->
    <java.version>1.8</java.version>
    <maven.compiler.source>8</maven.compiler.source>
    <maven.compiler.target>8</maven.compiler.target>
    <project.build.sourceEncoding>UTF-8</project.build.sourceEncoding>
    <project.reporting.outputEncoding>UTF-8</project.reporting.outputEncoding>
    <!-- 指定Sunrays-Framework的版本 -->
    <sunrays.version>1.0.0</sunrays.version>
</properties>

<dependencyManagement>
<!-- 使用sunrays-dependencies来管理依赖,则依赖无需加版本号 -->
<dependencies>
    <dependency>
        <groupId>cn.sunxiansheng</groupId>
        <artifactId>sunrays-dependencies</artifactId>
        <version>${sunrays.version}</version>
        <type>pom</type>
        <scope>import</scope>
    </dependency>
</dependencies>
</dependencyManagement>2.引入依赖
xml
    <dependencies>
    <!-- common-web-starter -->
    <dependency>
        <groupId>cn.sunxiansheng</groupId>
        <artifactId>common-web-starter</artifactId>
    </dependency>

    <!-- common-log4j2-starter 是必须引入的!!! -->
    <dependency>
        <groupId>cn.sunxiansheng</groupId>
        <artifactId>common-log4j2-starter</artifactId>
    </dependency>
</dependencies>3.打包配置
xml
    <!-- maven 打包常规配置 -->
<build>
    <!-- 打包成 jar 包时的名字为项目的artifactId + version -->
    <finalName>${project.artifactId}-${project.version}</finalName>
    <plugins>
        <plugin>
            <groupId>org.springframework.boot</groupId>
            <artifactId>spring-boot-maven-plugin</artifactId>
            <version>2.4.2</version>
            <executions>
                <execution>
                    <goals>
                        <!-- 将所有的依赖包都打到这个模块中 -->
                        <goal>repackage</goal>
                    </goals>
                </execution>
            </executions>
        </plugin>
    </plugins>
</build>4.application.yml 配置日志根目录
yaml
sun-rays:
  log4j2:
home: /Users/sunxiansheng/IdeaProjects/sunrays-framework-demo/common-web-starter-demo/logs # 日志根目录(默认./logs)5.WebController.java 测试三种Web响应方式
java
package cn.sunxiansheng.web.controller;

import cn.sunxiansheng.tool.response.ResultWrapper;
import cn.sunxiansheng.web.annotation.IgnoredResultWrapper;
import org.springframework.web.bind.annotation.RequestMapping;
import org.springframework.web.bind.annotation.RestController;

/**
 * Description: WebController
 *
 * @Author sun
 * @Create 2025/1/19 13:39
 * @Version 1.0
 */
@RestController
public class WebController {

    /**
     * 第一种方式:直接使用自动包装成功结果
     *
     * @return
     */
    @RequestMapping("/method1")
    public String method1() {
        return "method1";
    }

    /**
     * 第二种方式:使用 @IgnoredResultWrapper注解忽略掉自动包装
     *
     * @return
     */
    @IgnoredResultWrapper
    @RequestMapping("/method2")
    public String method2() {
        return "method2";
    }

    /**
     * 第三种方式:直接使用ResultWrapper来自己封装结果
     *
     * @return
     */
    @RequestMapping("/method3")
    public ResultWrapper<String> method3() {
        return ResultWrapper.fail("method3");
    }
}6.WebApplication.java 启动类
java
package cn.sunxiansheng.web;

import org.springframework.boot.SpringApplication;
import org.springframework.boot.autoconfigure.SpringBootApplication;

/**
 * Description: WebApplication
 *
 * @Author sun
 * @Create 2025/1/19 13:39
 * @Version 1.0
 */
@SpringBootApplication
public class WebApplication {

    public static void main(String[] args) {
        SpringApplication.run(WebApplication.class, args);
    }
}7.测试
1.第一种方式:直接使用自动包装成功结果
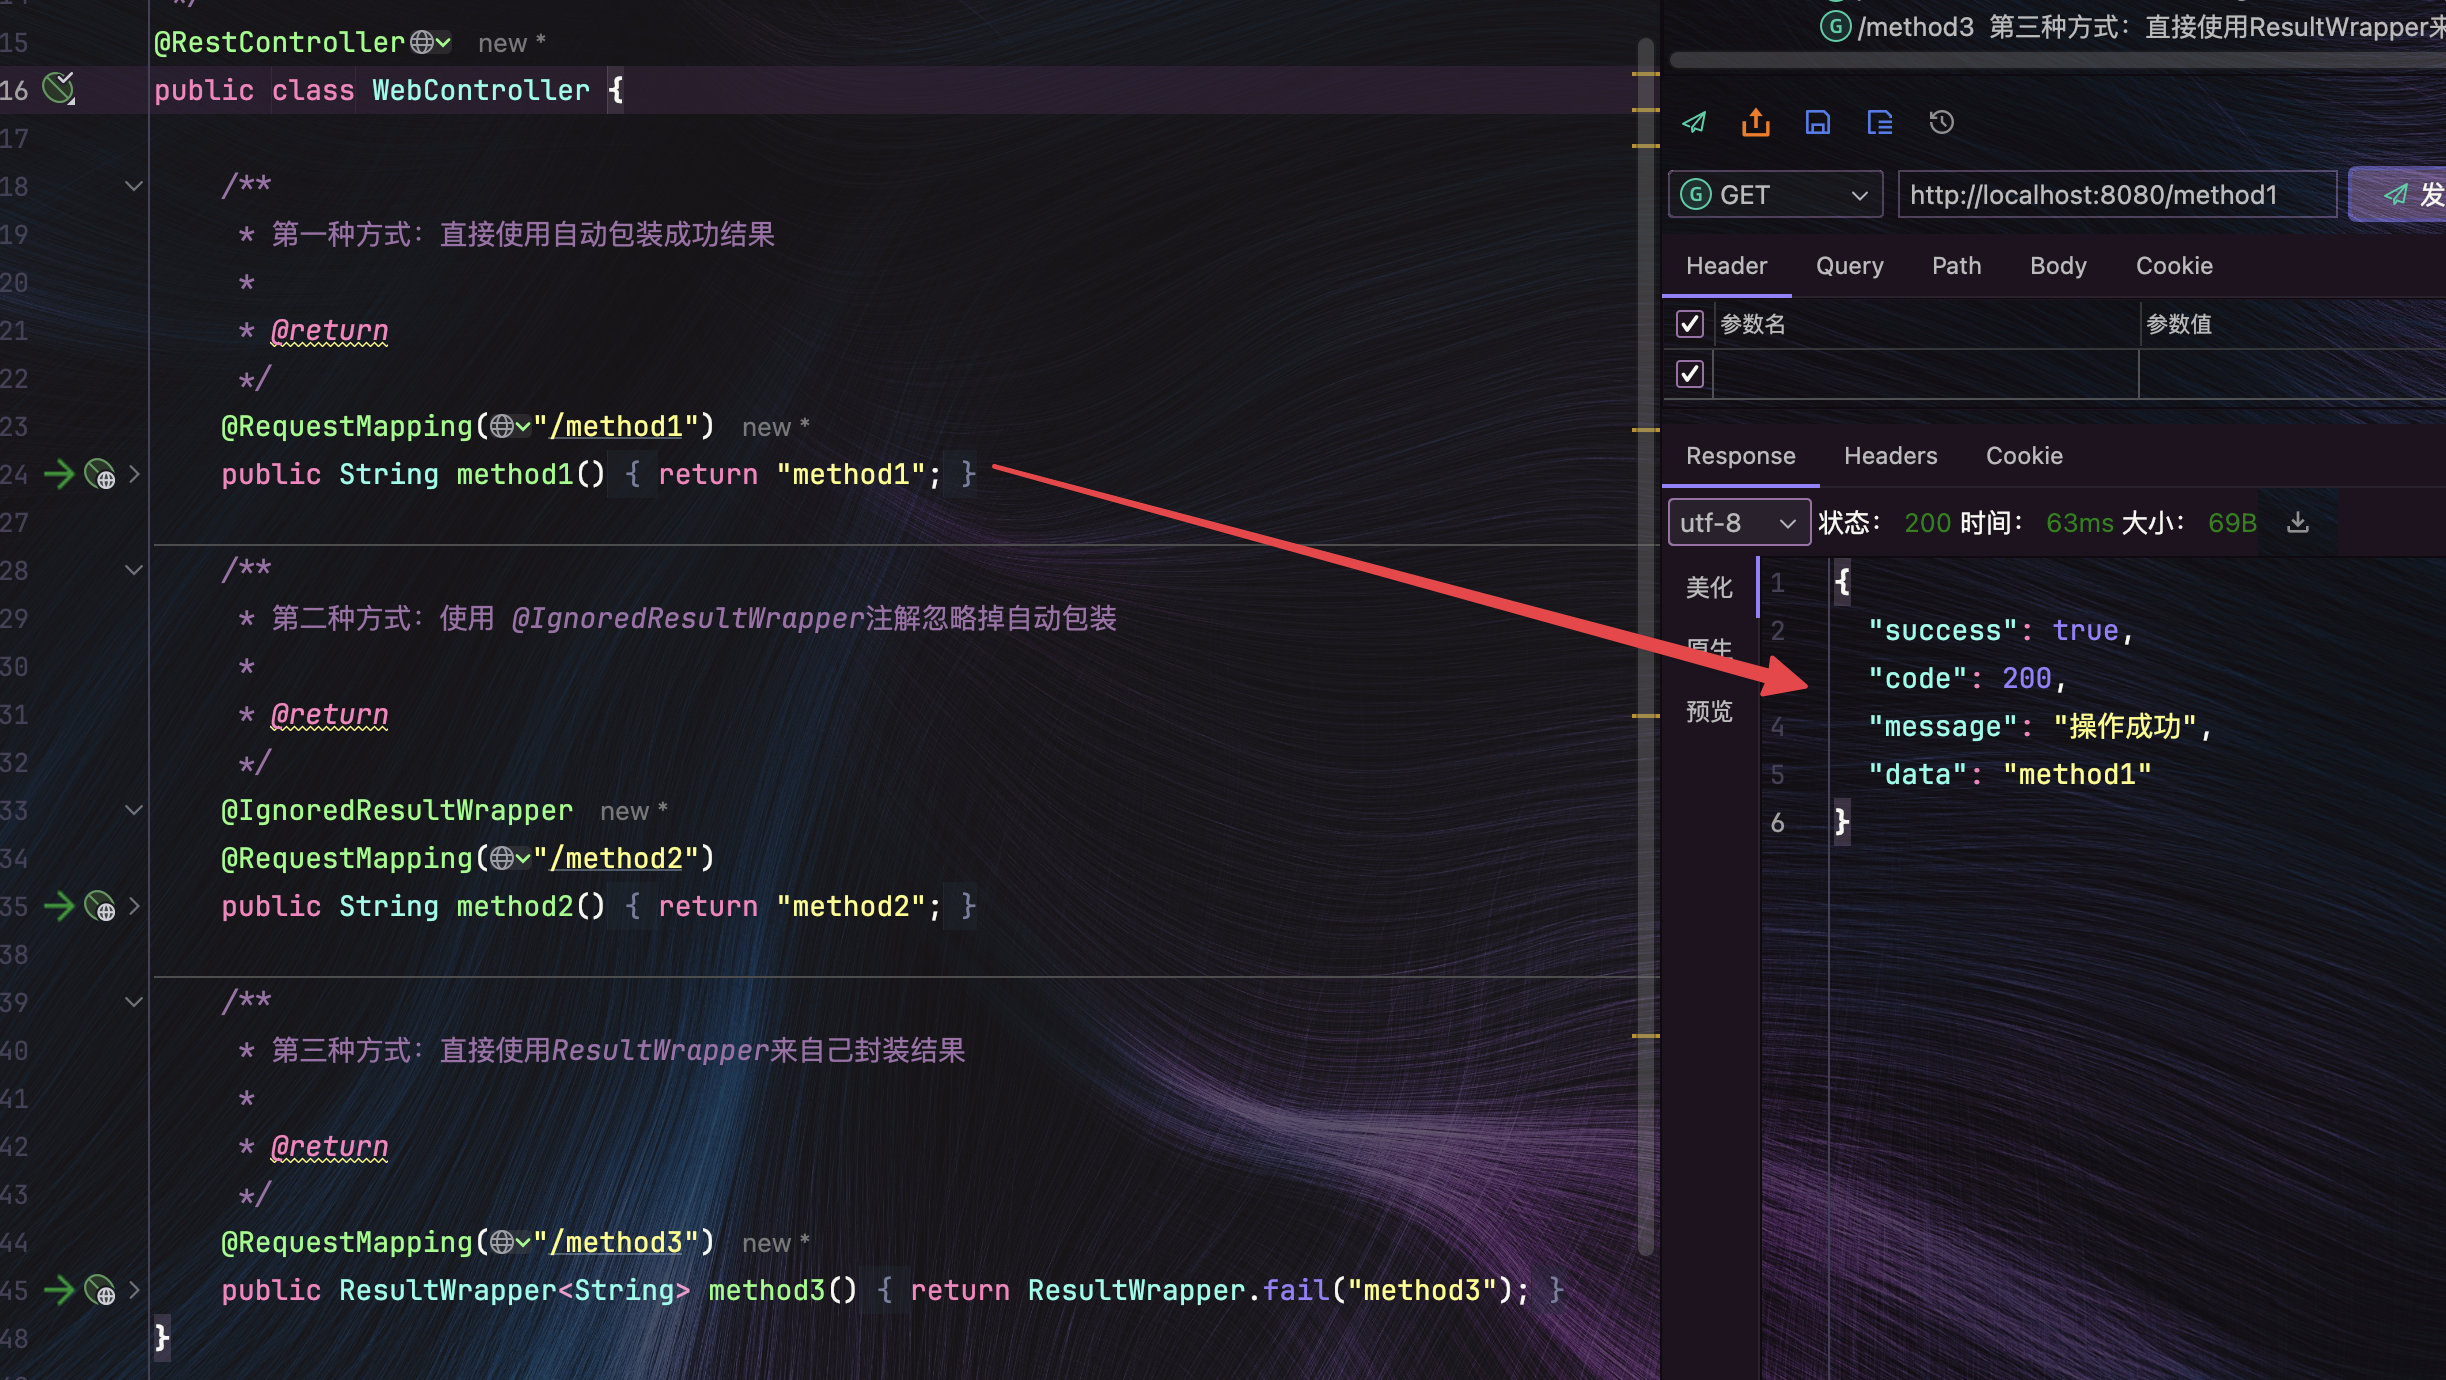
2.第二种方式:使用 @IgnoredResultWrapper注解忽略掉自动包装
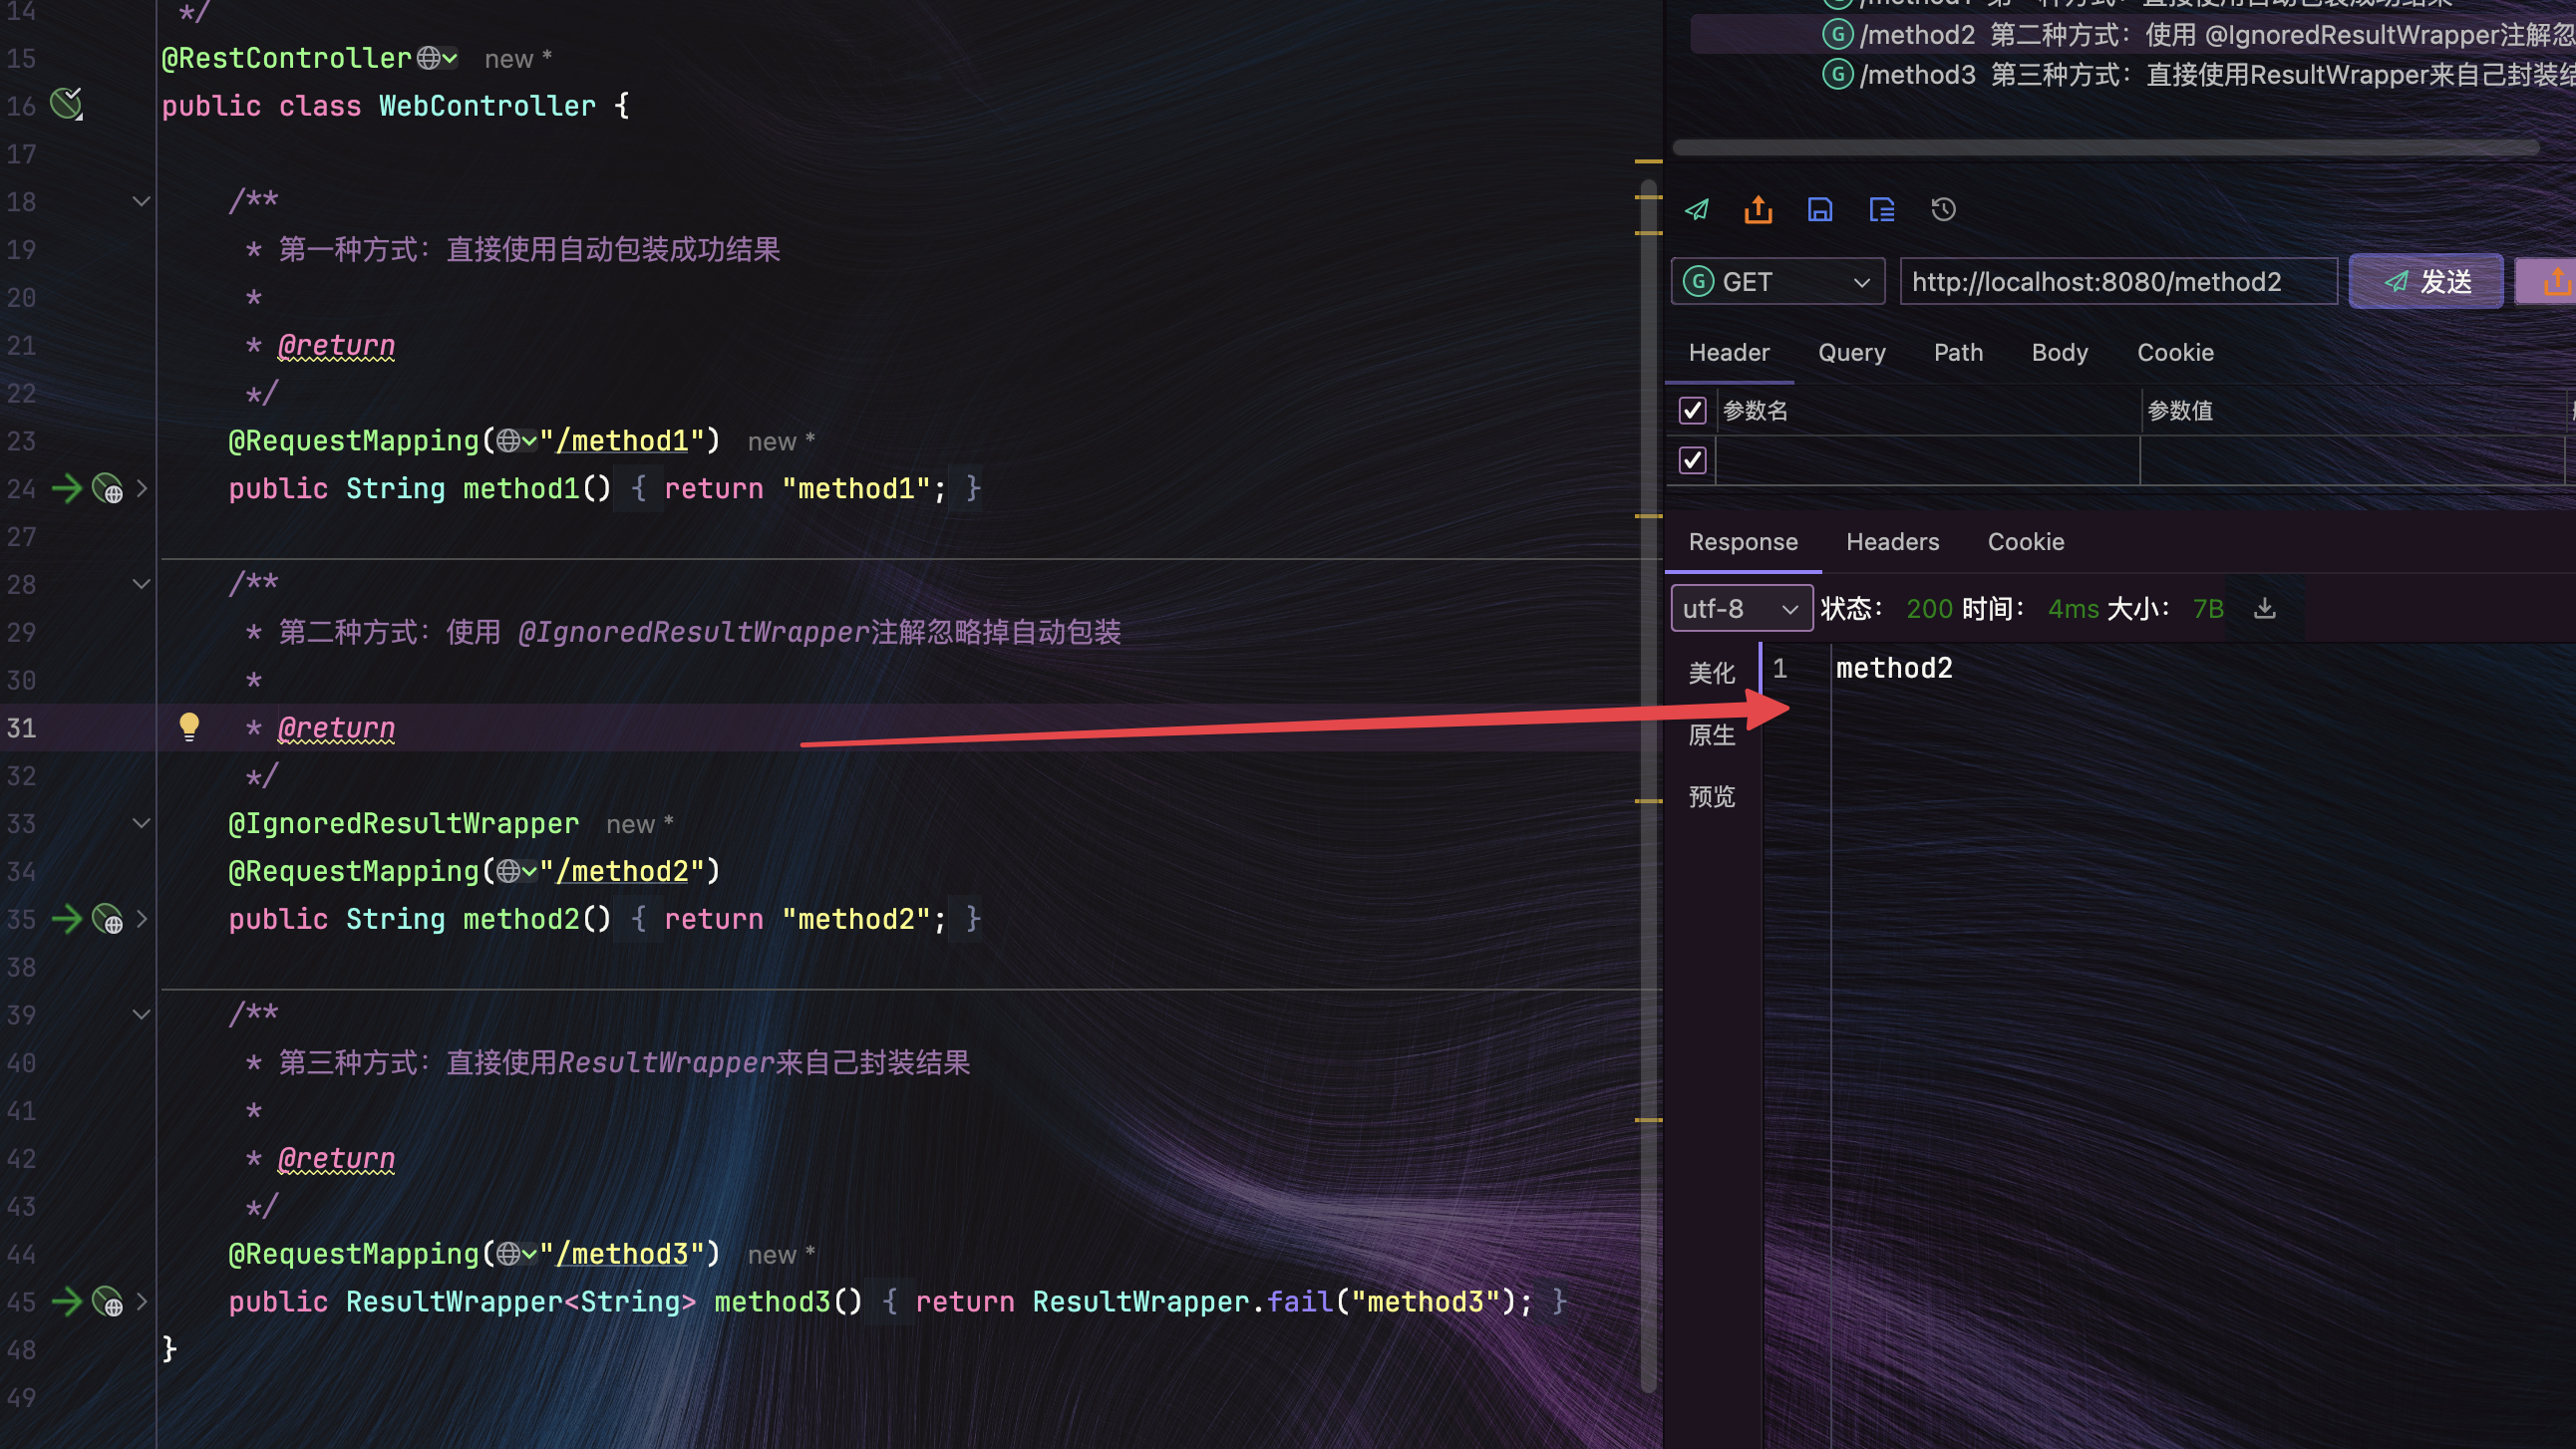
3.第三种方式:直接使用ResultWrapper来自己封装结果
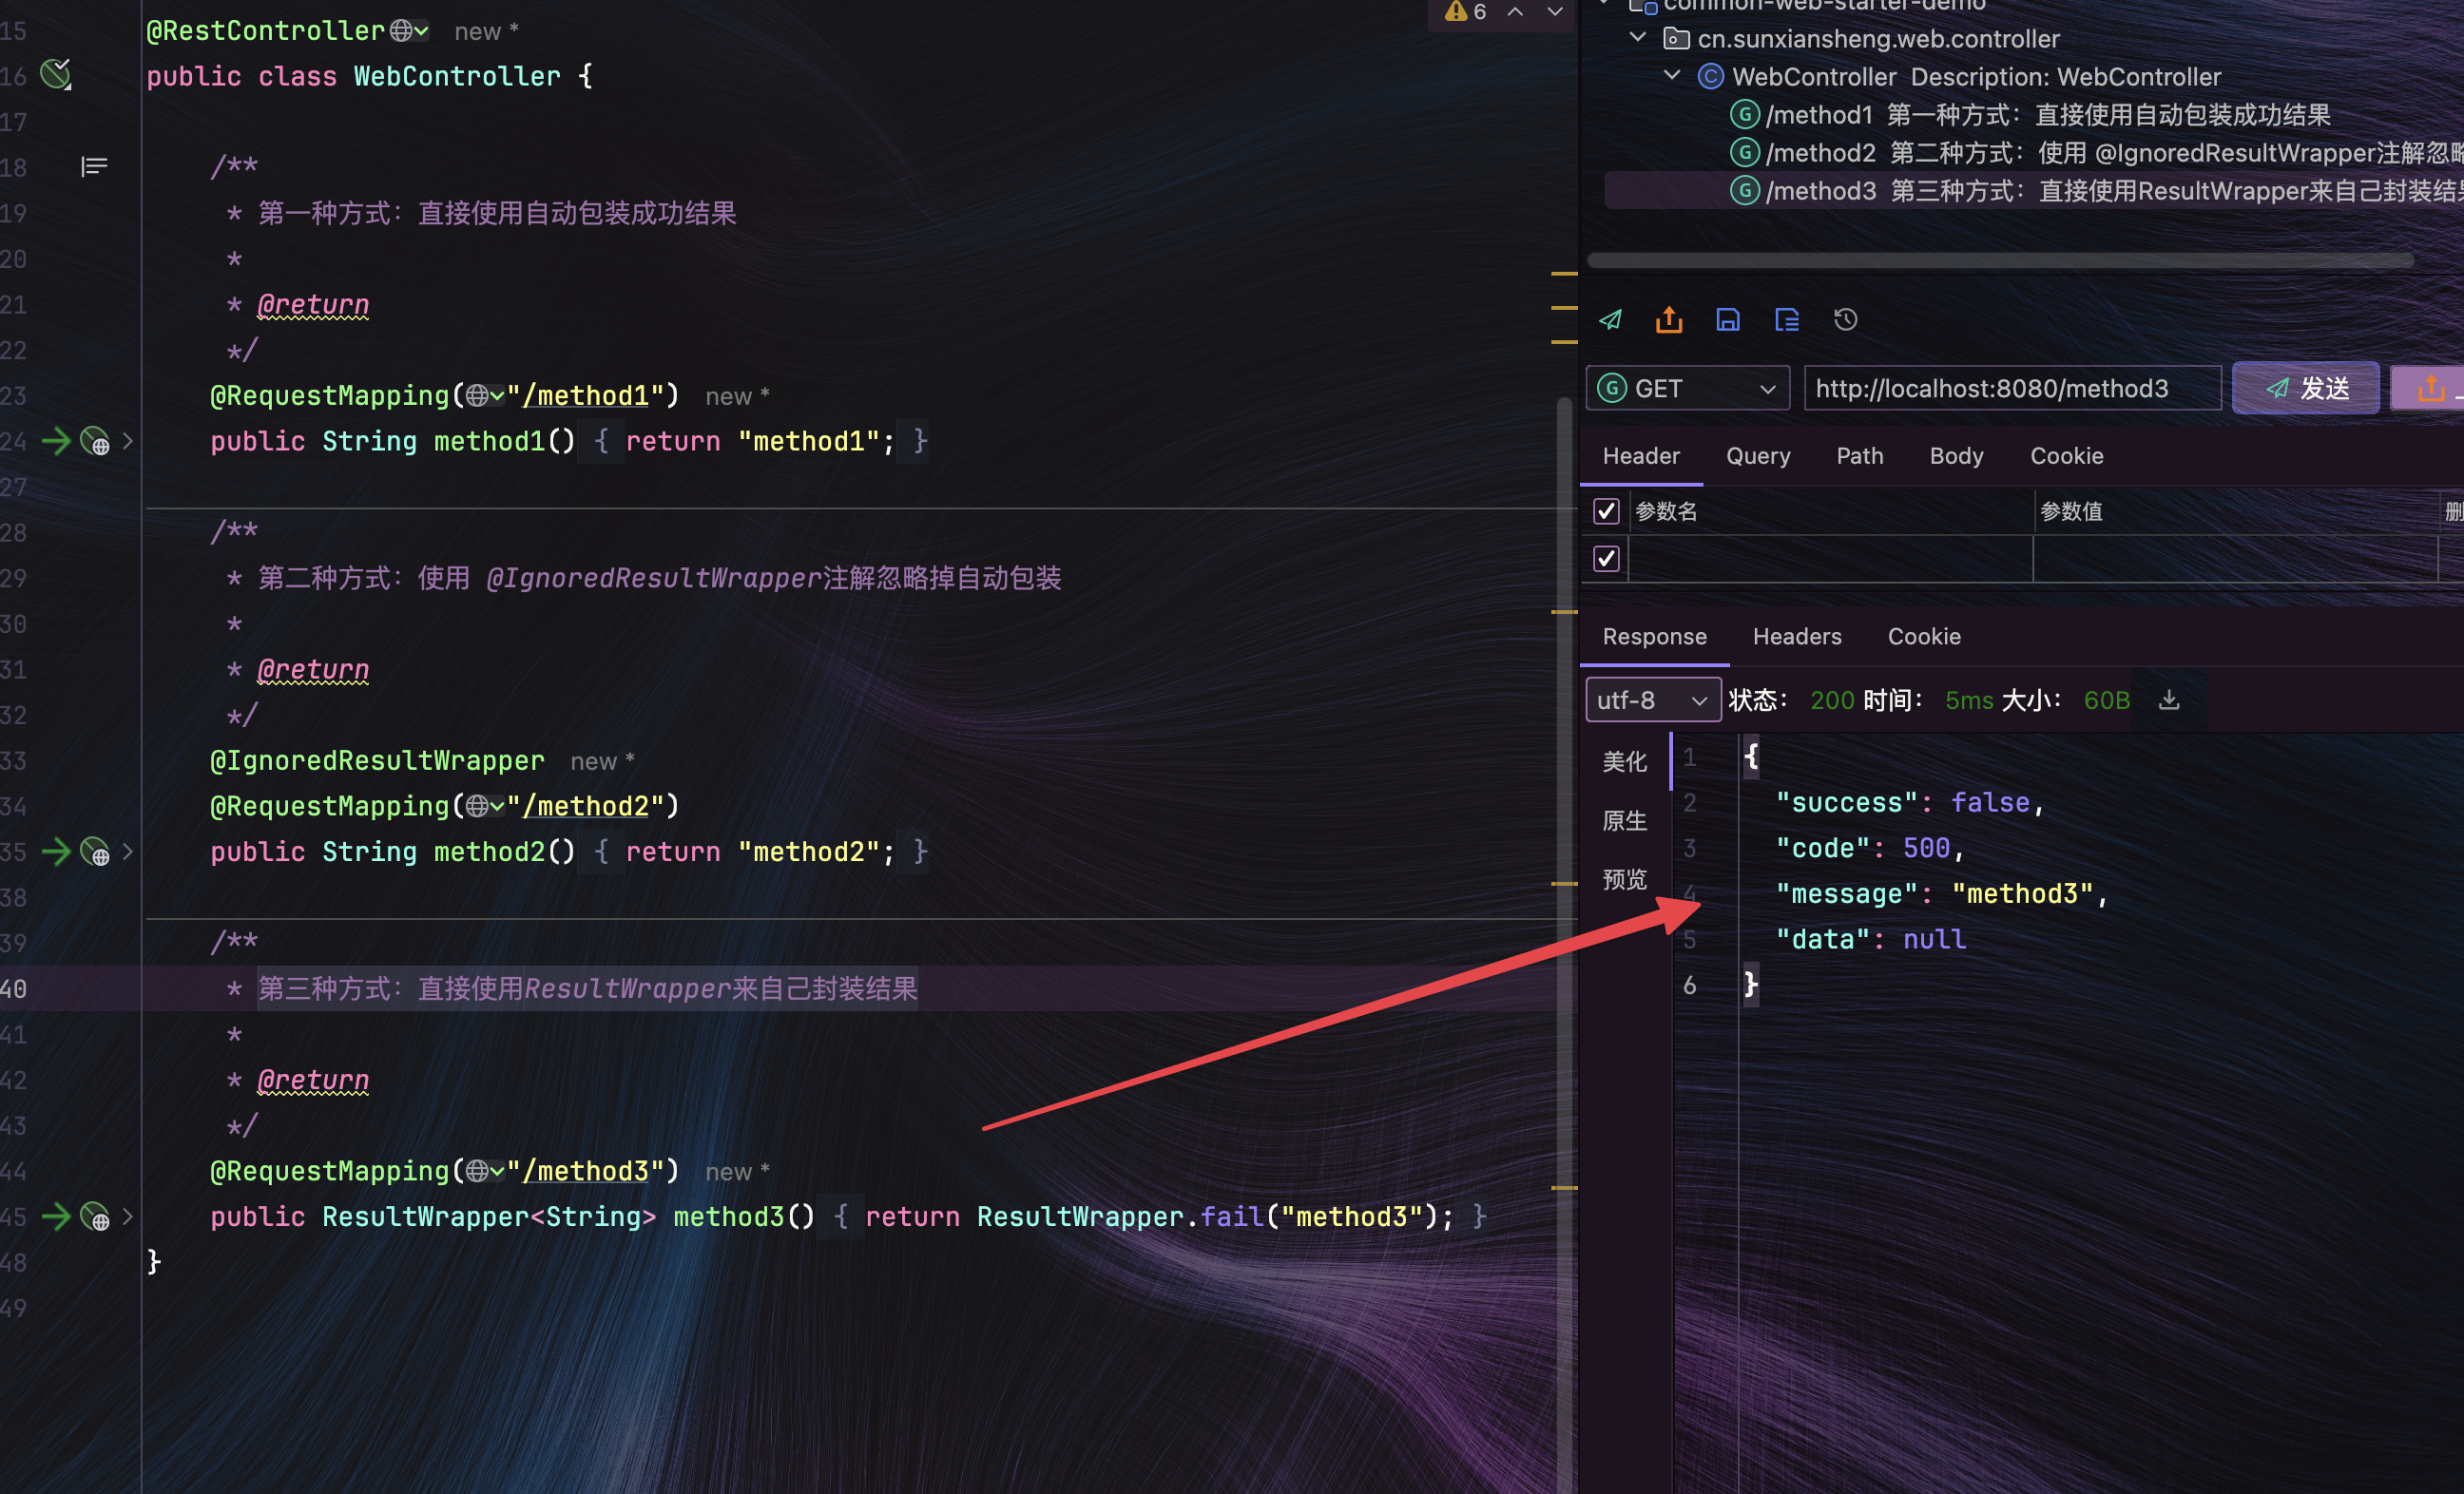
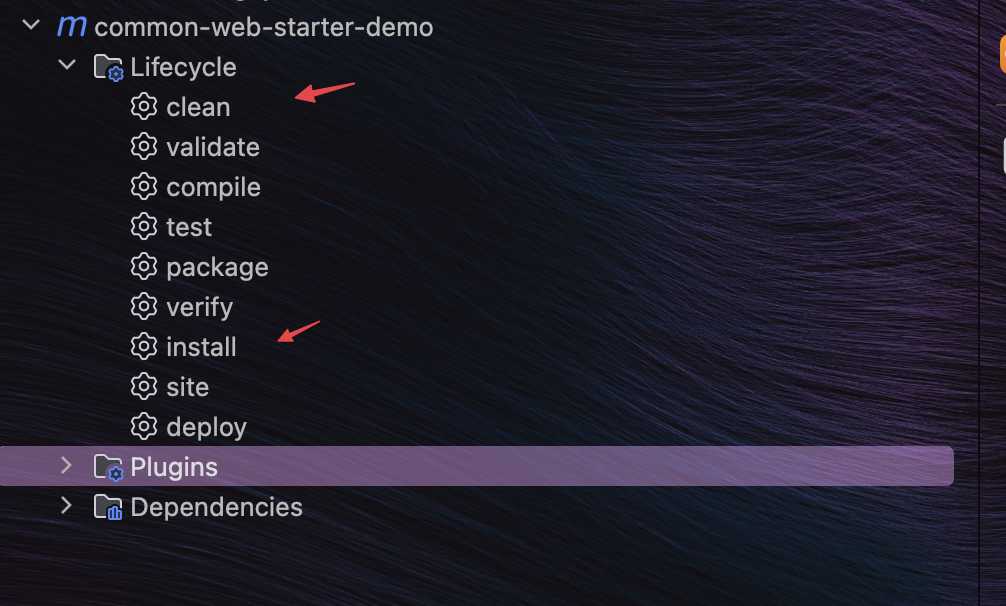
4.测试打包功能 clean install
